Introduction to Security Camera SH-ES501VR35 Wiring
The SH-ES501VR35 is a trusted model for surveillance needs, offering high-resolution video quality, durability, and ease of installation. Proper wiring is the cornerstone of a functional security system, ensuring uninterrupted performance. Whether you’re a DIY enthusiast or a professional installer, this guide covers all the essentials for wiring the SH-ES501VR35, along with troubleshooting tips and frequently asked questions.
Installing a security camera can feel overwhelming, especially when dealing with intricate wiring systems. This guide breaks down every step of the process to ensure your SH-ES501VR35 is installed correctly and efficiently. Whether you’re securing your home, office, or other property, a properly installed system provides peace of mind and optimal performance.
Step-by-Step Security Camera SH-ES501VR35 Wiring Instructions
Understand Your Security Camera System
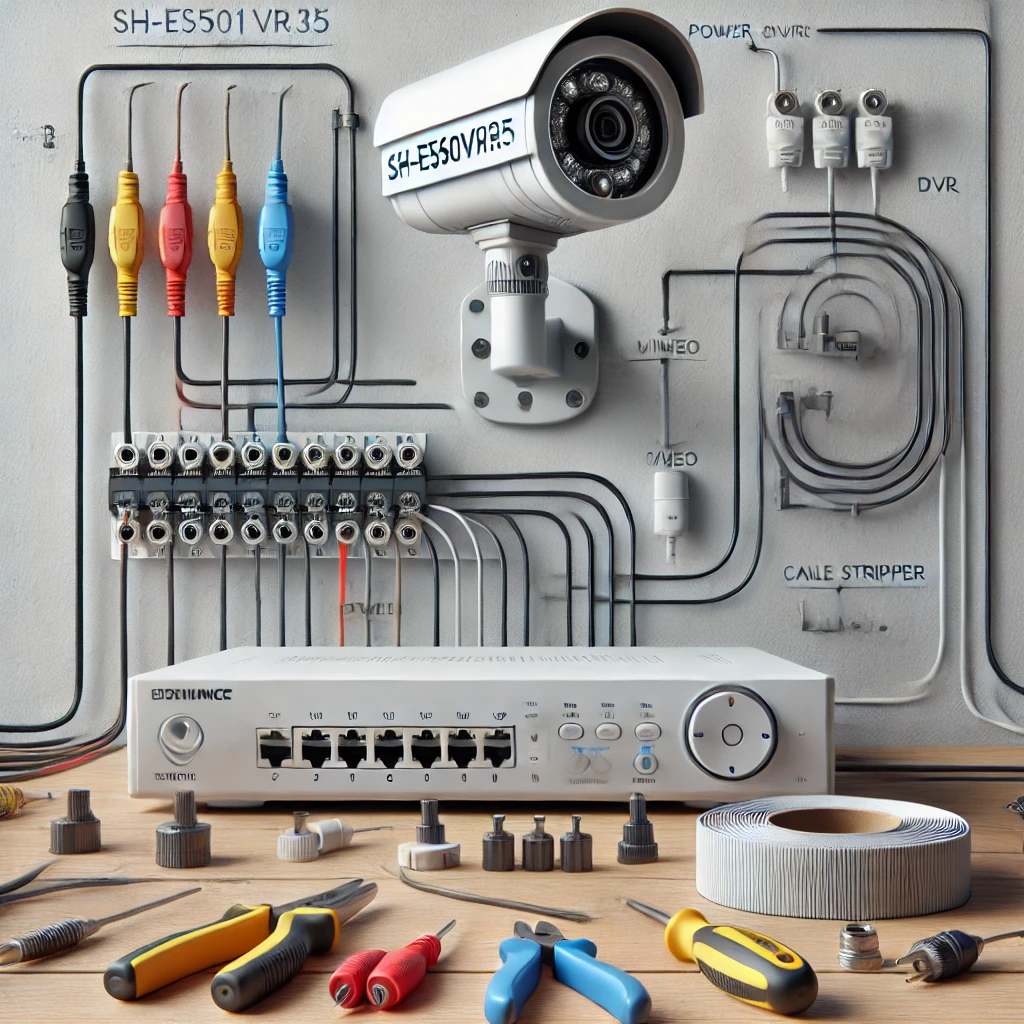
Before diving into the installation, it’s essential to familiarize yourself with the SH-ES501VR35 model and its components:
- Camera Unit: Includes the lens and housing.
- Cables: For power and video transmission.
- Power Supply: Powers the camera.
- DVR/NVR System: Records and processes video footage.
Carefully read the manual for specific instructions and compatibility requirements. Knowing the key features and capabilities of the SH-ES501VR35 will help you make informed decisions during installation.
Choose the Right Location
Selecting an optimal location for your camera ensures maximum coverage and performance. Consider these factors:
- Clear View: Avoid obstructions like trees or walls.
- Weather Protection: Install under eaves or use weatherproof casings.
- Height: Place cameras out of reach to prevent tampering.
A good location maximizes the camera’s field of view and protects it from damage or vandalism. If installing multiple cameras, plan their positions strategically to eliminate blind spots.
Gather the Necessary Tools and Materials
Having the right tools simplifies the installation process. Essential tools include:
- Cable stripper and cutter
- Screwdriver set
- Drill and wall anchors
- Coaxial cables (RG59 or RG6) or Ethernet cables (Cat5e or Cat6)
- BNC connectors for analog systems
- Power supply units
Additionally, ensure you have a stable ladder for high placements and safety gear, such as gloves and goggles, to protect yourself during installation.
Run the Cables
Properly managing cables is essential for creating a tidy and functional setup.
- Measure Distances: Calculate the distance between the camera and DVR/NVR.
- Use Conduits: Protect cables from external damage.
- Avoid Interference: Keep power and video cables separate.
- Label Cables: This simplifies troubleshooting later.
Proper cable management ensures a professional appearance and reduces the risk of connection issues. For outdoor installations, use weatherproof conduits to protect cables from environmental damage.
Connect the Camera to the DVR/NVR
For a seamless connection:
- BNC Connectors (Analog Systems): Attach the coaxial cable’s connectors to the camera and DVR.
- Ethernet Cables (IP Systems): Plug one end into the camera and the other into the NVR or router.
- Power Connection: Connect the camera’s power cable to a power source or use Power over Ethernet (PoE) for IP cameras.
Ensuring secure connections is vital for the system’s reliability. To prevent damage, double-check all connections before powering on the system.
Configure the System
After physical installation:
- Power on the DVR/NVR and monitor.
- Access the system settings and add the camera.
- Assign an IP address for IP cameras or select the appropriate channel for analog systems.
- Adjust resolution, frame rate, and recording schedules.
System configuration is where you personalize your setup to meet specific needs. Familiarize yourself with the software interface and features like motion detection and alerts.
Test the Camera
Testing ensures your setup is functional:
- Check for a clear video feed on the monitor.
- Verify night vision and motion detection features.
- Adjust the camera’s angle for optimal coverage.
Testing all features before finalizing the installation can save time and effort in troubleshooting later. Ensure all cameras are recording properly and that remote access (if applicable) functions.
Common Wiring Issues and Troubleshooting Tips
Even with careful installation, issues may arise. Here are some common problems and solutions:
- No Video Feed:
- Verify cable connections.
- Ensure the camera has power.
- Check if the DVR/NVR is functioning properly.
- Poor Image Quality:
- Adjust the camera’s focus or clean the lens.
- Check for signal interference.
- Signal Interference:
- Separate power and video cables.
- Use shielded cables to minimize interference.
- Ensure proper grounding of the system.
- Flickering Video:
- Check power stability.
- Replace damaged cables.
Addressing these issues promptly ensures your system remains reliable and effective.
Benefits of the SH-ES501VR35 Model
The SH-ES501VR35 security camera is an excellent choice for residential and commercial applications. Key benefits include:
- High-Resolution Video: Provides clear footage for detailed surveillance.
- Durability: Weather-resistant design ensures long-lasting performance.
- Easy Installation: Simplified wiring and mounting process.
- Advanced Features: Supports night vision, motion detection, and remote access.
Choosing a model like the SH-ES501VR35 ensures a reliable and user-friendly security solution. Its robust design makes it suitable for various environments, while its advanced features offer comprehensive coverage.
5 Frequently Asked Questions About SH-ES501VR35 Wiring
What type of cable is best for the SH-ES501VR35?
For analog systems, use RG59 or RG6 coaxial cables. For IP systems, Cat5e or Cat6 Ethernet cables are recommended.
How do I ensure the cables are weatherproof?
Use waterproof conduit pipes or cable covers to protect cables exposed to outdoor elements.
Can I connect multiple cameras to one DVR?
Yes, most DVRs support multiple channels. Ensure your DVR’s channel capacity matches the number of cameras.
Do I need an electrician for wiring?
With the right tools, basic installations can be done independently. However, professional assistance is advisable for complex setups.
How do I fix video signal interference?
Properly ground the cables and keep them away from high-voltage lines. Use shielded cables for added protection.
In-Depth Recap of FAQ 1: Best Cable for SH-ES501VR35 Wiring
Selecting the appropriate cable is vital for the camera’s performance. Here’s a detailed look at the options:
- Coaxial Cables (Analog Systems):
- RG59: Suitable for shorter distances.
- RG6: Better for longer runs due to lower signal loss.
- Use BNC connectors for secure and stable connections.
- Ethernet Cables (IP Systems):
- Cat5e: Affordable and effective for runs under 100 meters.
- Cat6: Ideal for longer distances with higher data rates.
- PoE (Power over Ethernet): Simplifies wiring by combining power and data transmission in a single cable.
You can achieve a reliable and high-quality surveillance system by choosing the right cable and ensuring proper installation.
for more info
Advanced Tips for Optimizing SH-ES501VR35 Wiring
To maximize the efficiency of your security camera system, consider these advanced tips:
- Cable Length Management: Keep cable runs within recommended lengths to maintain signal integrity.
- Power Backup: Use an uninterruptible power supply (UPS) to keep the system running during power outages.
- Regular Maintenance: Check connections, clean camera lenses, and ensure cables are intact.
- Network Security: For IP systems, use strong passwords and secure your network to prevent unauthorized access.
Incorporating these practices ensures a robust and efficient security system that meets your long-term needs.
Conclusion
Wiring the SH-ES501VR35 security camera is straightforward when you follow the steps outlined in this guide. From selecting the right cables to troubleshooting common issues, this guide provides all the information you need for a successful installation. With its advanced features and robust design, the SH-ES501VR35 is dependable for enhancing your security setup.